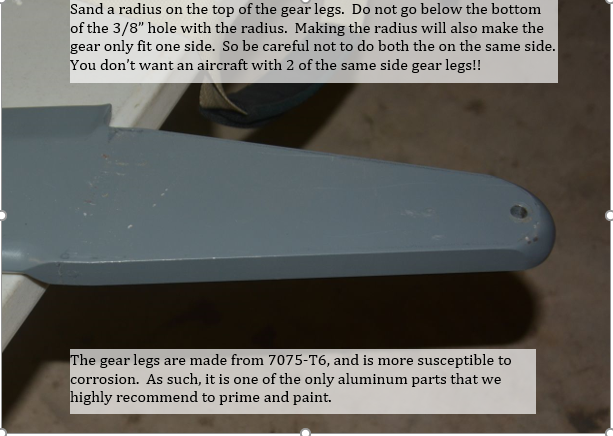
Note: Do NOT heat the landing gear legs above 300°F as this could alter the heat treatment. We advise against Powder coating the legs as the will typically be heated above 350°F
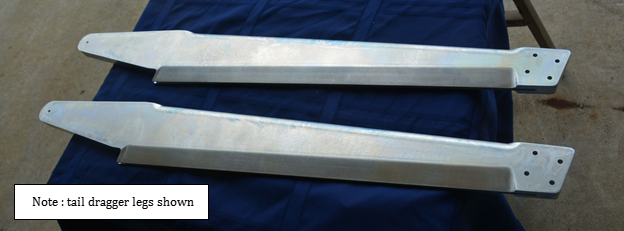
1.The main gear legs come precut and drilled, however, they need to be cleaned up. There are usually tooling marks, particularly on the trailing edge, and some sharp edges that need to smoothed out. A random orbit sander with several grits of paper works well.
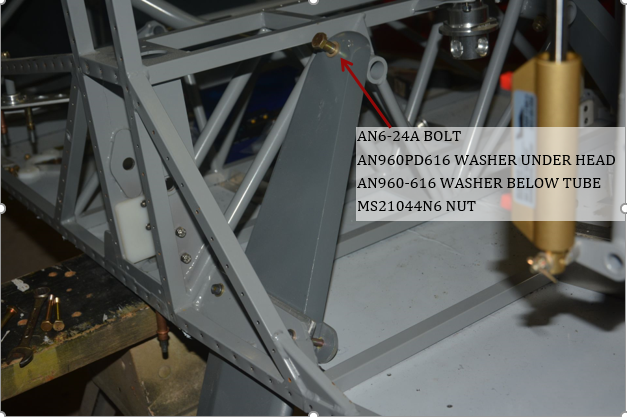
2.Check the upper hole, make sure that the AN6 bolt has a slightly loose fit in the hole.
3.Sand a radius with a belt sander on the upper end of gear leg, the radius should not extend below the upper bolt. The radius is to make the gear leg easier on the bottom of some pilot’s legs. This radius will make the gear leg for one side, so verify you are cutting the radius on the correct side, and mark the gear legs left or right. Landing gear legs are made of 7075-T6 and are more susceptible to corrosion as compared to the 6061-T6 on the rest of the aircraft. It is recommended that you keep the gear legs primed and painted.
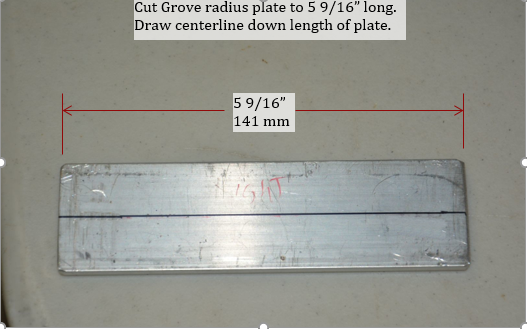
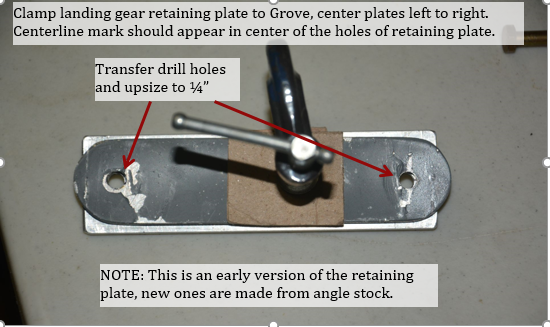
4.Cut the 2 Grove radius plate P8908 to 5 9/16” long. Draw a centerline down the length of the plate.
5.Clamp landing gear retaining plate to radius plate so the centerline of the radius plate is centered in the holes of the retaining plate. Transfer drill holes through radius plate.
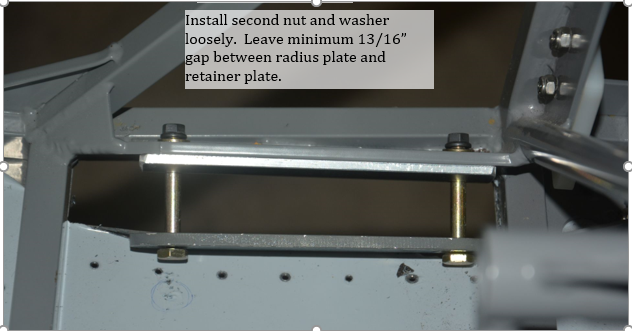
6.Install radius plate and retaining plate to fuselage. This can be done with the lower skin in place by following the procedure below. It is easier to install the plates first, with the hardware loose, and then slide the gear leg into opening.
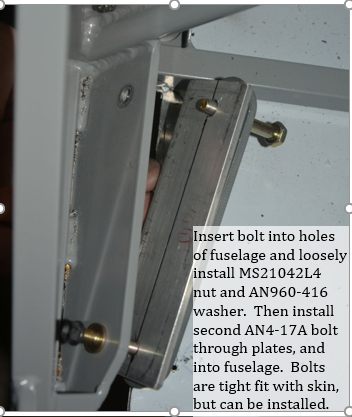
7.Install landing gear leg through slot between retainer plate and radius plate. Install AN6-24A bolts through gear leg and holes on upper gear leg mount. If bolt does not fit through, it may be necessary to run a 3/8” drill bit through the hole of the leg and mount. A second person to hold the leg, or clamping the leg makes it easier. Make sure gear leg is up against the radius plate and fuselage plate. Tightening nuts on retaining plates can help. Repeat steps for other side.
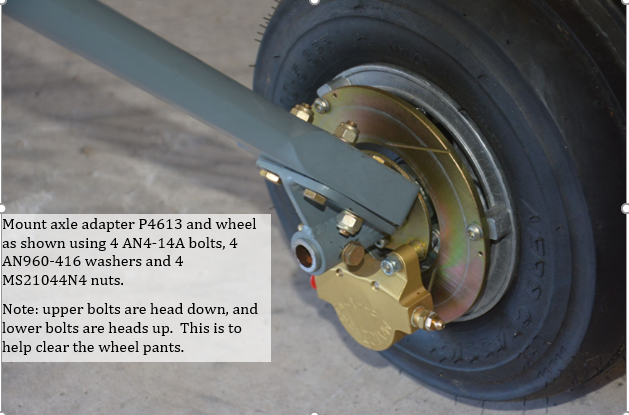
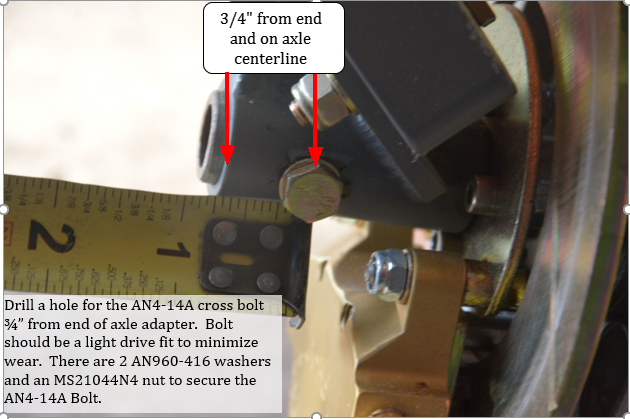
8.Slide axle into adapter, and drill hole for AN4-14A cross bolt. Bolt should be a light drive fit, to minimize wear. Brakes should be on the bottom to clear the wheel pants. Cut axle to length. The standard Matco axle that SPA offers is used for both the smaller 11x4.00-5 tires and the larger 11x5-5.00 tires.
9.Mount the wheels, brakes and axle adapter to landing gear leg.