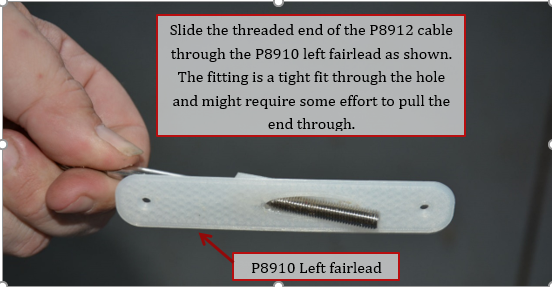
1. Slide the threaded end of the P8912 rudder cable through the P8910 Left rudder cable fairlead as shown. The hole is a tight fit for the threaded end and might take some effort to pull the end through. To help pull, you can temporarily install the P8607 Eyelet on threaded end to give a better grip.
Note: NEVER use pliers on the threads, as they will damage the threads.

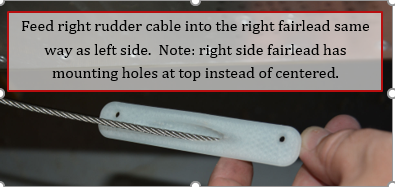
2. Repeat step 1 for the right side using P8911 Right rudder cable fairlead.
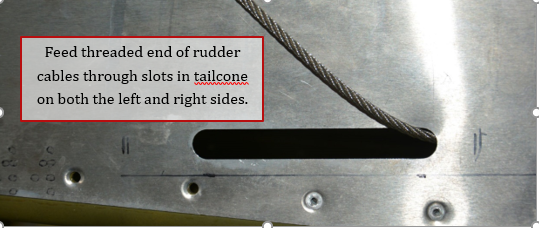
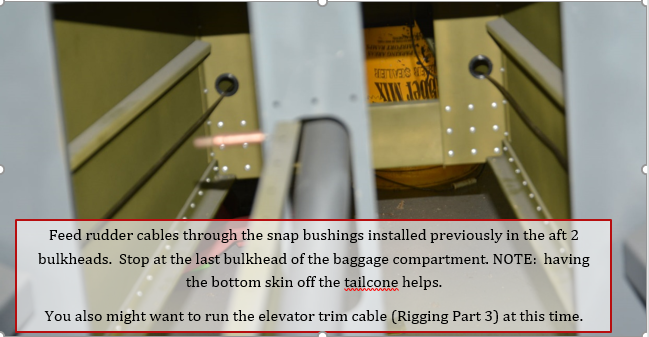
3. Starting at the rear of the tailcone feed the threaded end of the rudder cables through the slots just above the lower longeron.
4. Feed the rudder cables through the snap bushings and nylon guide blocks previously installed in the tail cone bulkheads. Do not feed it into the bulkhead behind the baggage compartment yet.
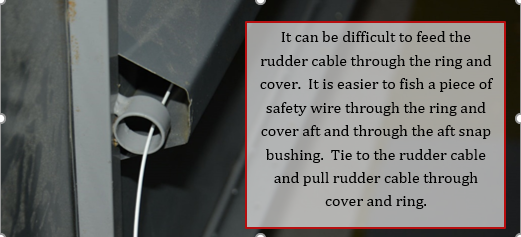
5. The rudder cables are hard to feed through the ring in the front of the baggage compartment. An easier way to do this is feed a piece of safety wire from the front through the ring and cable guard towards the rear baggage compartment bulkhead. Using a screw driver or fingers, guide it through the bushings on the rear bulkhead of the baggage compartment. Attach the wire through the hole in the threaded end of the rudder cable, and wrap some tape around wire and threads. This wire can then be used to pull the cable through the ring.
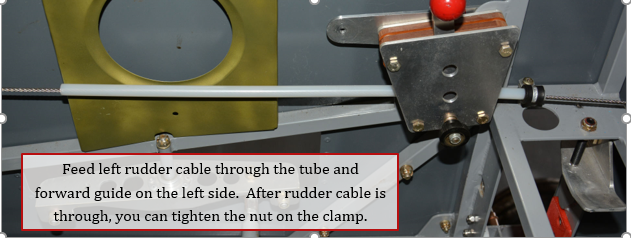
6. Remove the tape and wire from the rudder cable and continue feeding the cable through the left and right forward guides previously installed. After feeding the cables through the front guide, you can tighten the nuts on both guides.

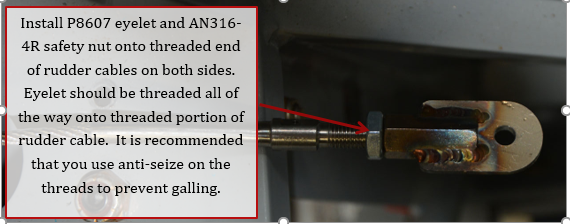
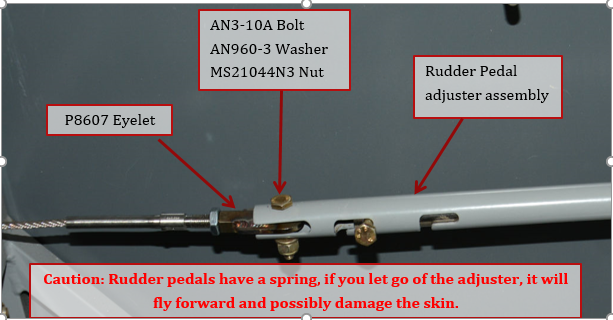
7. Install P8607 eyelet and AN316-4R safety nut on the threaded end of the rudder cable. The eyelet should be threaded on all the way, this will give some adjustment room later.
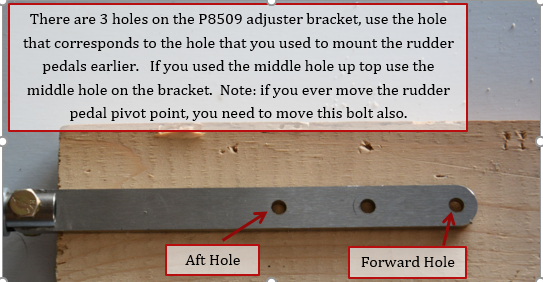
8. Attach the adjuster to the rudder pedal assembly using an AN3-15 bolt. See pictures below that describe how the hole patterns work on the adjuster and rudder pedals
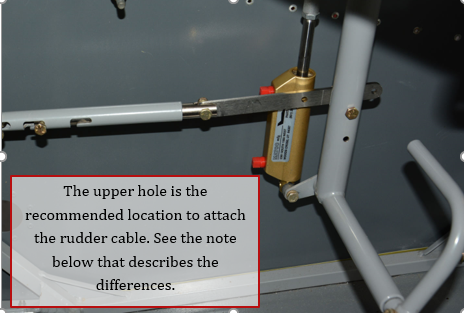
NOTE: There are 2 holes on the rudder pedal, the upper hole will give lighter control forces on the rudder, but require more movement of the rudder pedal. This is the recommended setting. If you prefer, you can install the bolt in the lower hole, which will give higher control forces and less movement of the rudder pedal, pilots who are used to aircraft like the VAN’s RV series may prefer this setting. It is easy to change this after test flying the aircraft.
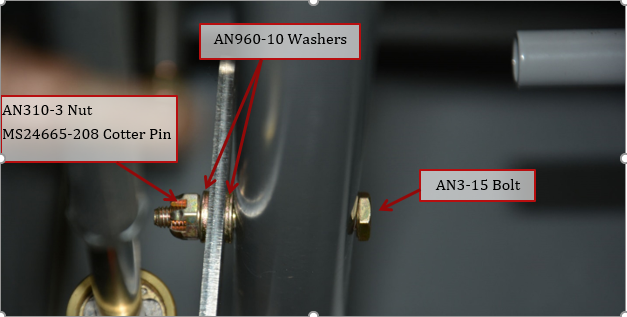
9. Attach P8607 eyelet to the adjuster assembly using AN3-10A bolt, AN960-10 Washer and MS21044N3 Nut.
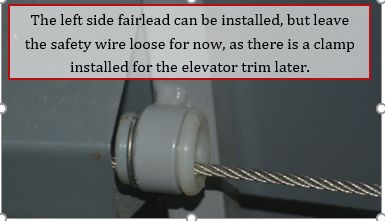
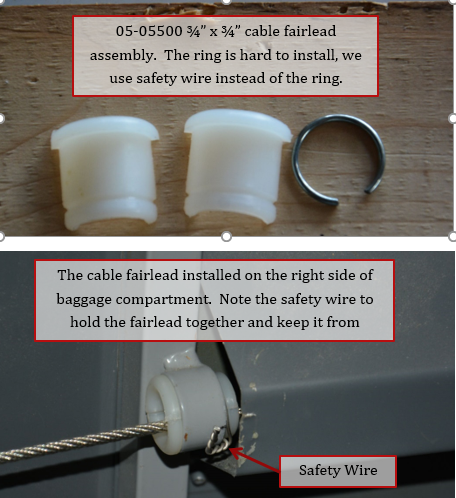
10. Install fairleads in rings at front of baggage compartment. The right side can be installed with safety wire now, however the left side you may not want to safety wire until after the elevator trim cable clamp is installed.
11. Left side fairlead, leave safety wire loose until the elevator trim cable clamp is installed.